
Building a Functional Test Framework from Scratch
- 16 minsBefore We Get Started
This is intended to be a quick guide on best practices for building out functional test suites. While the example I have set out uses java and selenium, many of the concepts explored here are applicable across languages and testing frameworks. In my opinion, the best way of highlighting these best practices is starting to write tests from scratch and refactoring the code as soon as we hit specific pain points. I have set up a git repository that follows along with the same exercises, so you can follow along with the entire repository at once.
A Quick Word On Functional Test Suites
Not every project will need a functional testing suite. In many cases, a web application is simple enough to be validated using lower level integration, unit and UI tests. This approach is best, but encounters problems once a project gets to be a certain size, certain user flows are determined to be extremely high business value, or a portion of the application is difficult/impossible to test before deployment, it might be necessary to build out a framework for functional tests.
Okay so you’ve decided that your project could benefit from some functional / ‘end to end’ tests against a deployed environment. How would you go about getting your first tests running? And furthermore, how would you build it in a way that is extensible and clean?
Getting Started From Scratch (Optional If You Already Have An Existing Java Project)
If you have already got a java project using Gradle ,or some other build tool for managing dependencies, then you can skip these steps. Even if you are not using java, many of the concepts explored in this post are relevant in all languages.
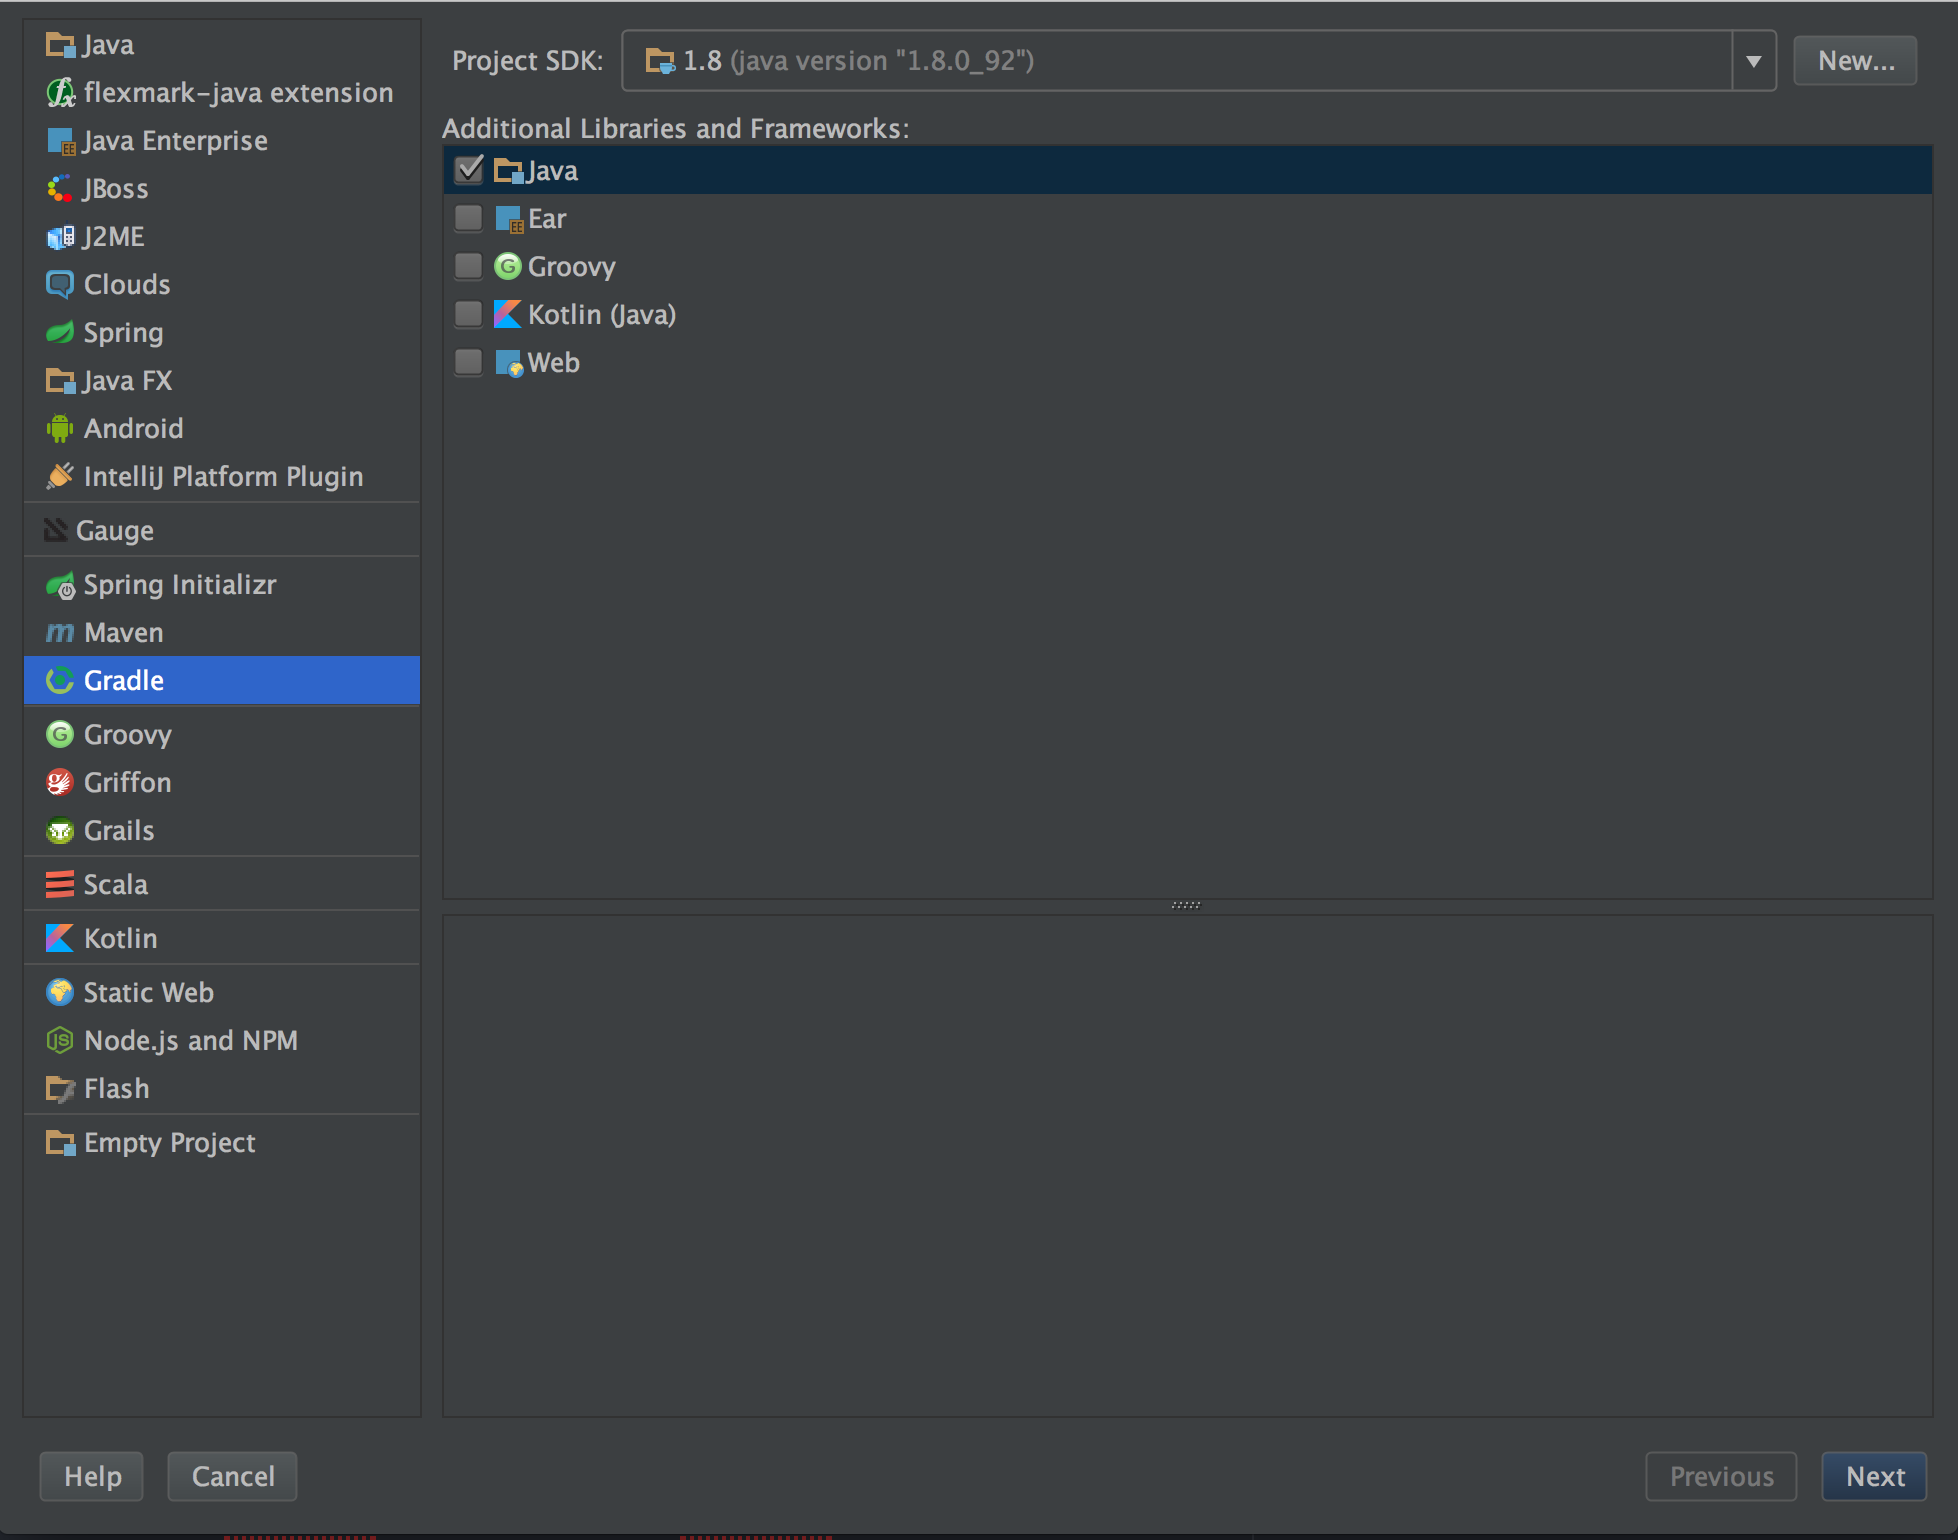
First you have to set up a Gradle project. I am using Intellij but almost any IDE should help you along the process of setting it up.
Using the Intellij project setup, chose a basic Gradle project
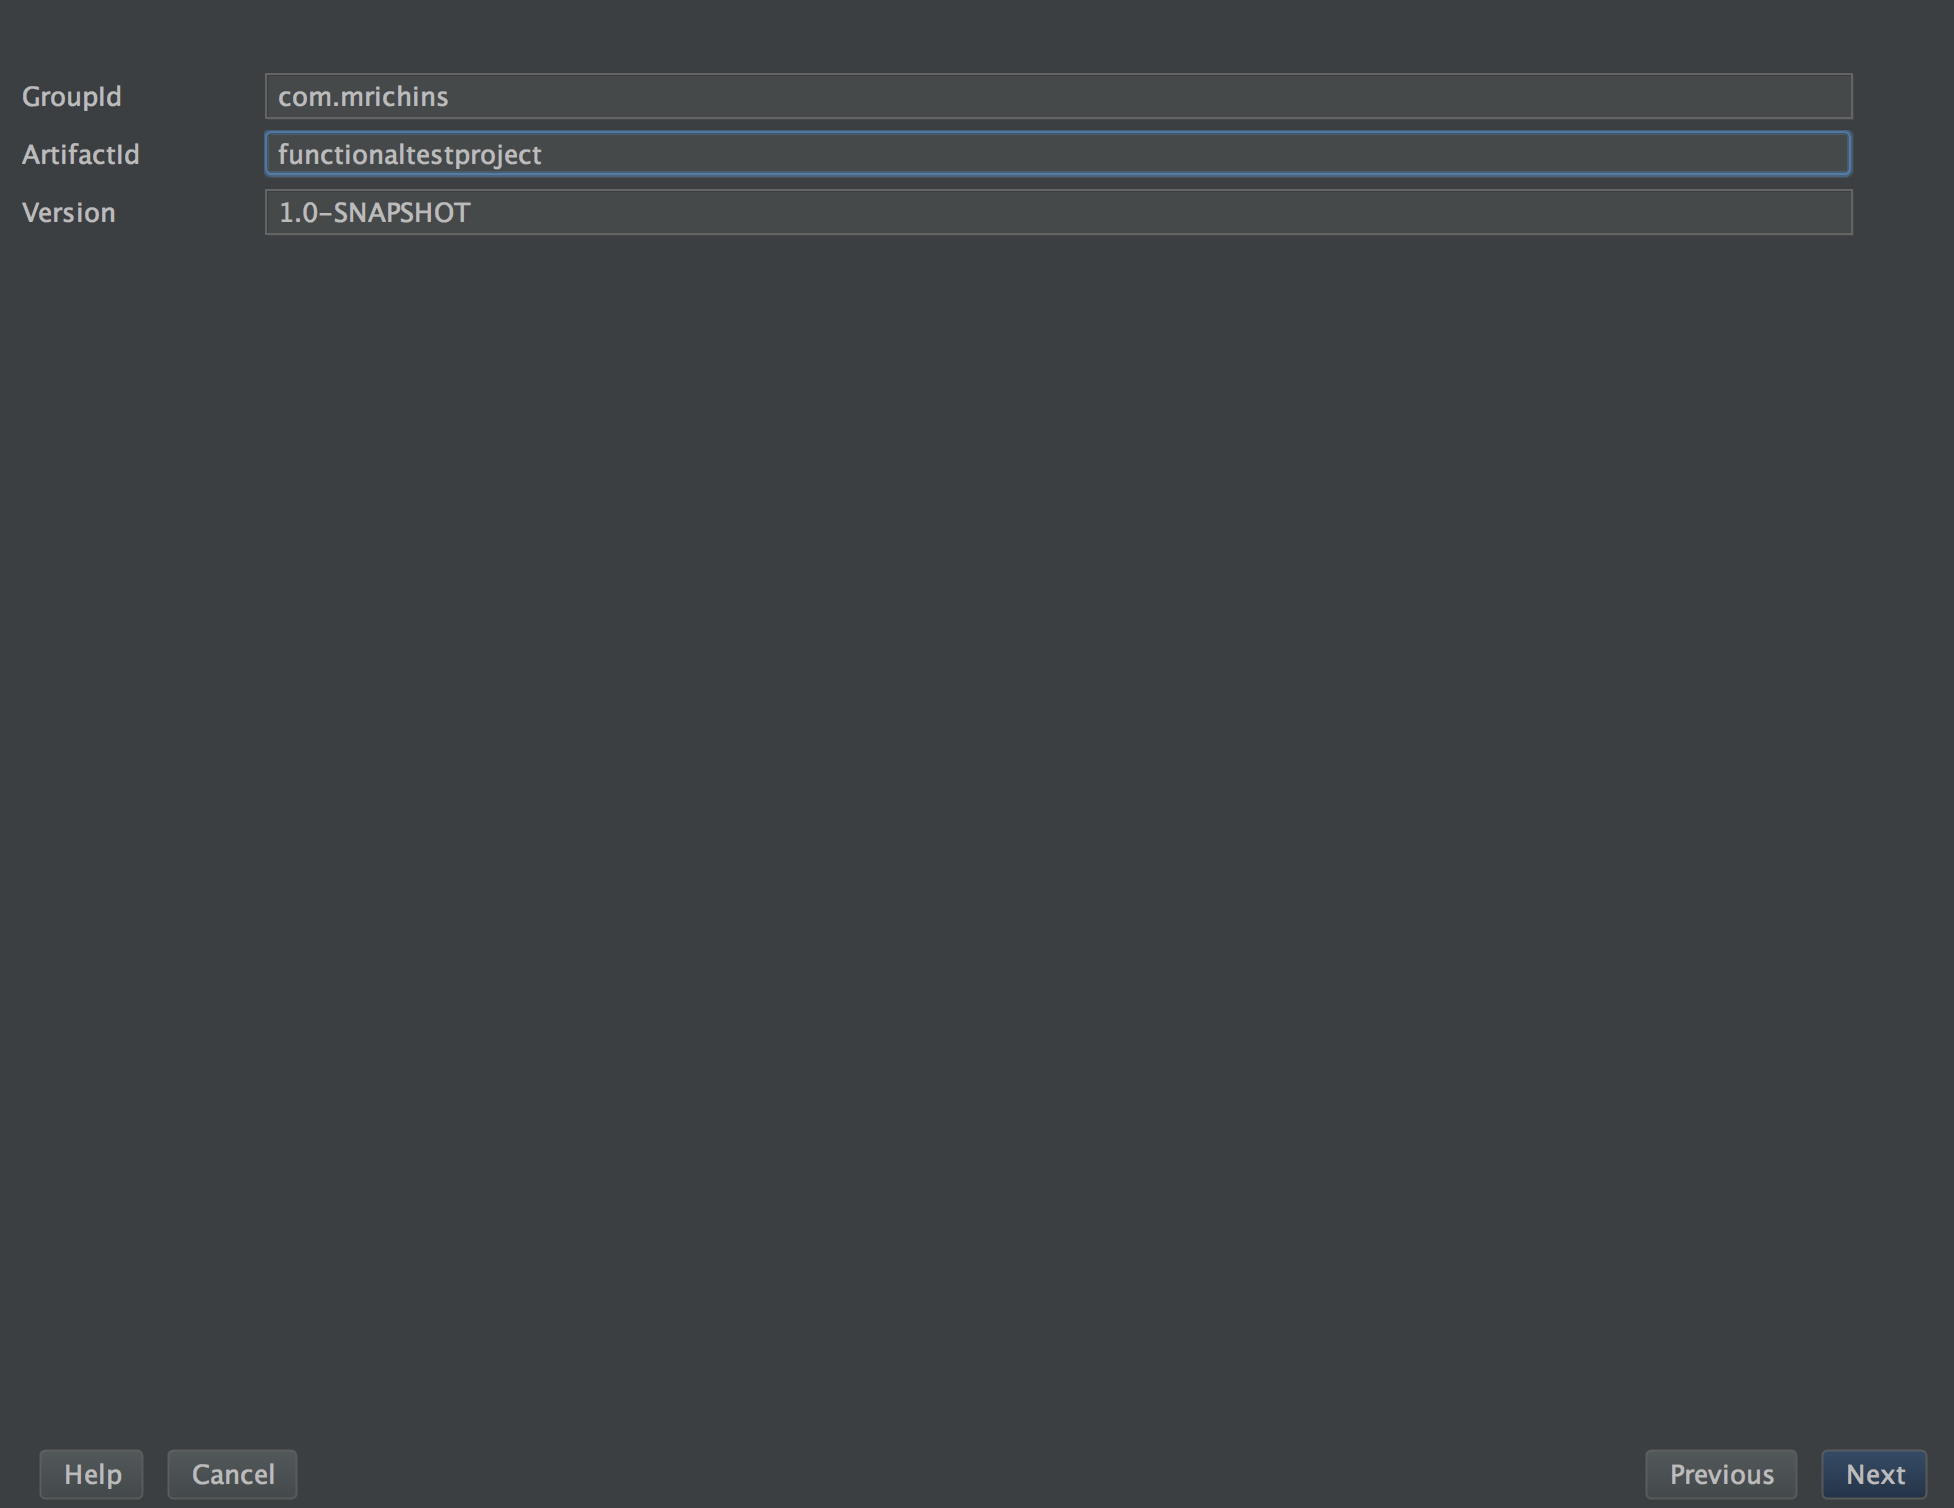
And then add whatever group id and artifact id.
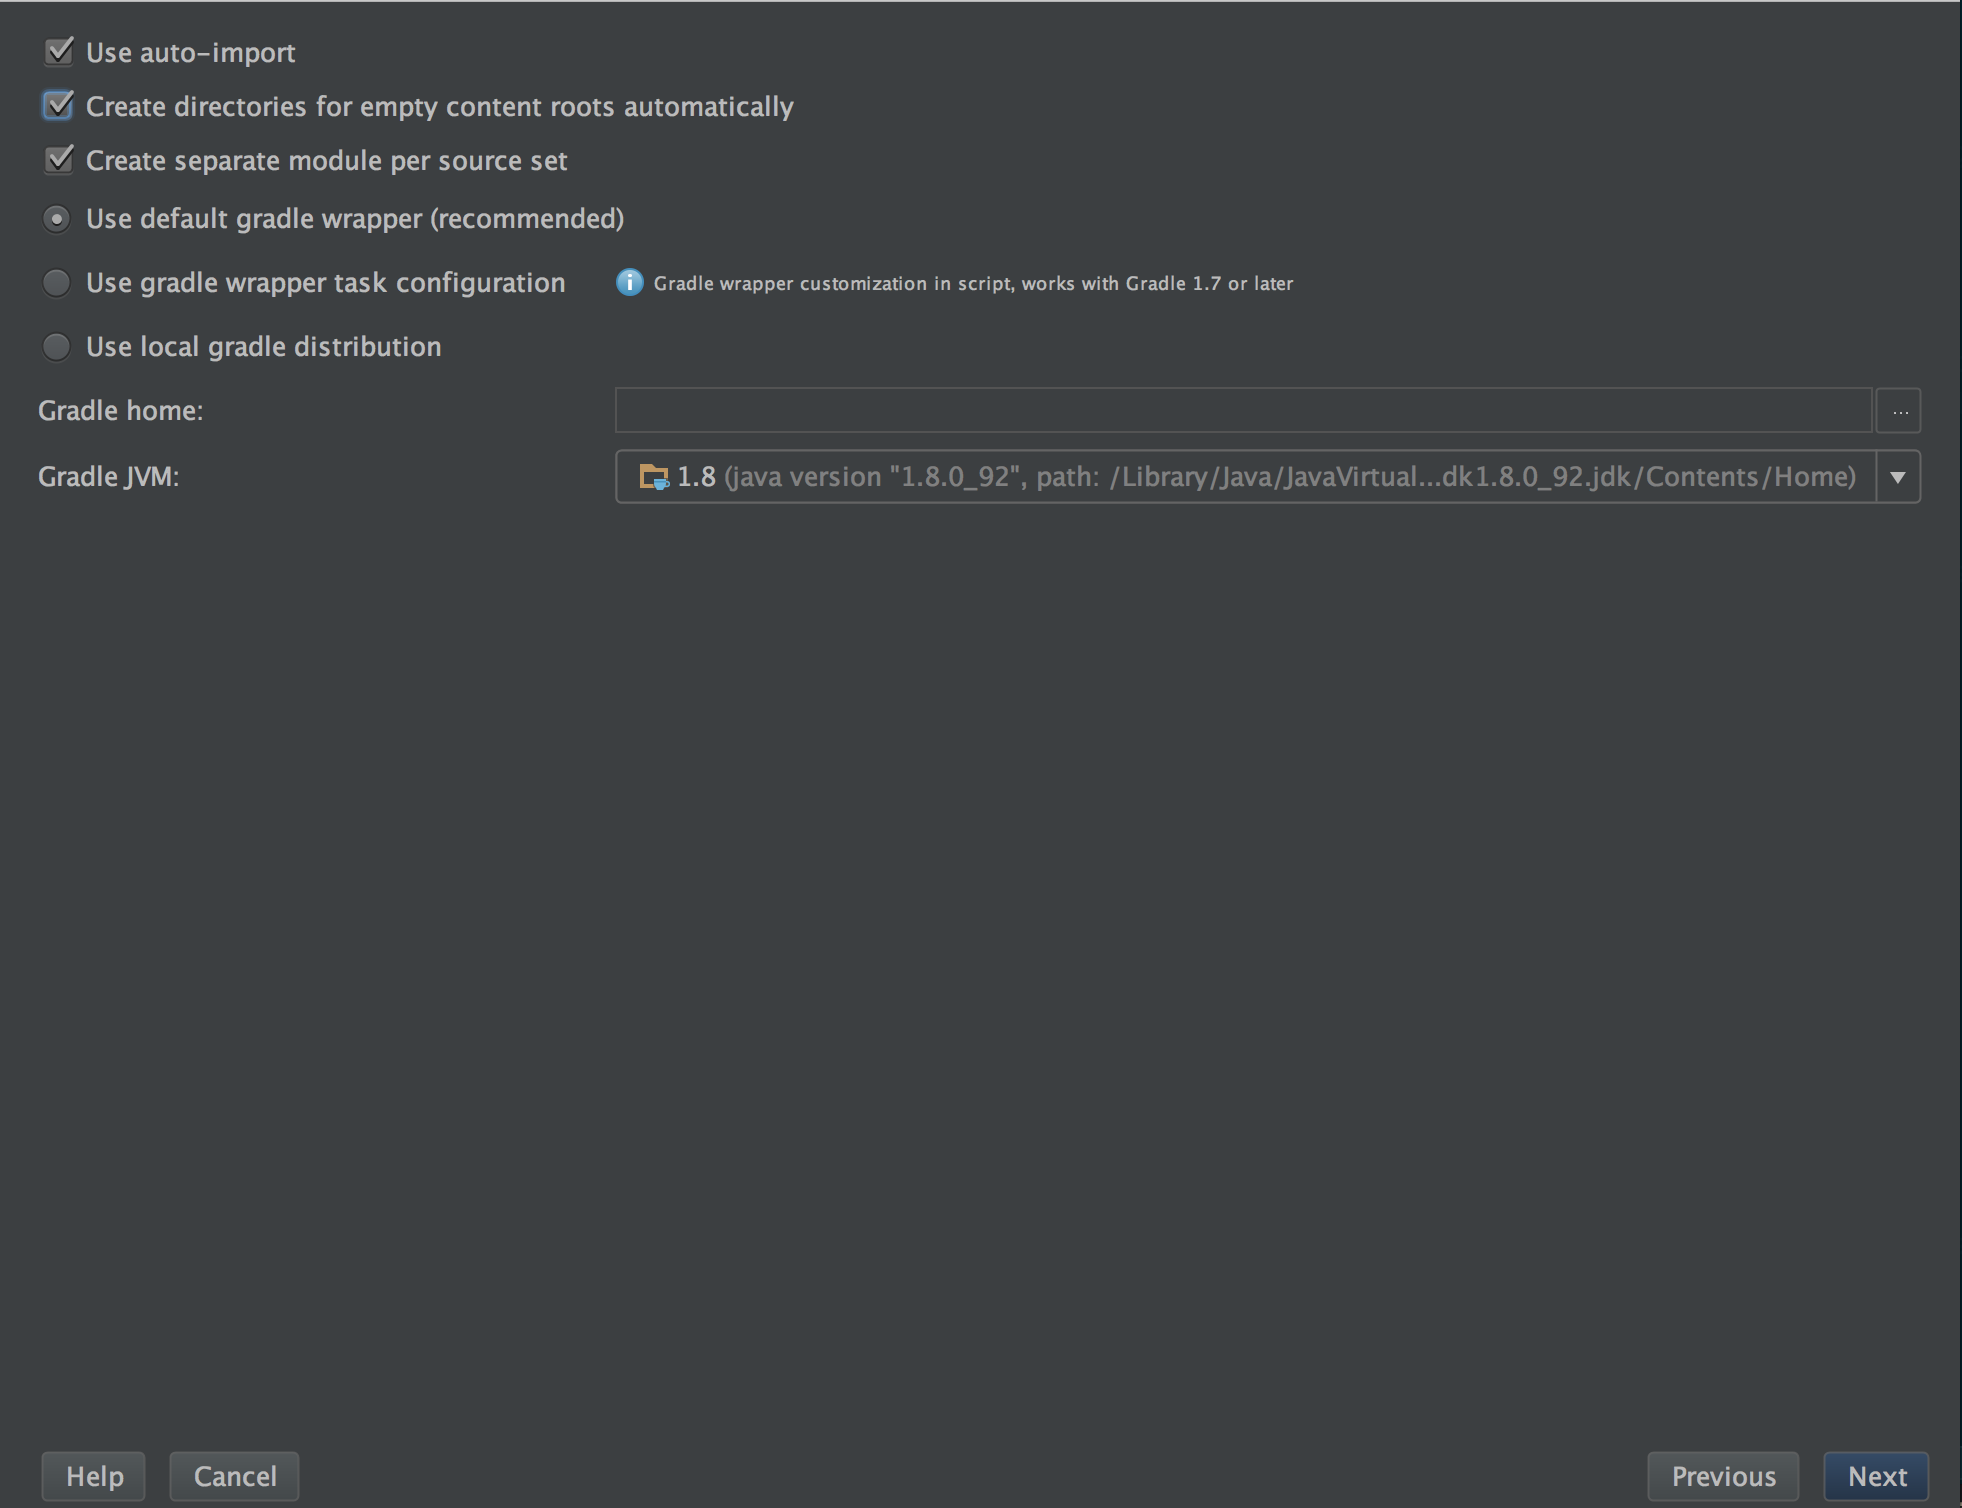
Select the options for use auto-import and automatically creating directories. Otherwise leave everything as default.
I am also going to use git to save my progress at certain points, and to use old commits to show the pattern of growth. So lets make this a git repo as well.
If you are going to track your project using git, you might want to update (or make) the .gitignore file to ignore Intellij files and compiled files. All you need to do is include these lines in the .gitignore.
.idea/*
.build/*
You might be asked to refresh by your IDE when you have finished these steps.
Now Onto The Tests!
After all of that setup, now you have junit and the shell of a java project, but we need to add the selenium libraries to start driving the browser and writing assertions against a real website.
Add this line to your gradle dependencies for selenium:
compile group: 'org.seleniumhq.selenium', name: 'selenium-java', version: '2.53.0'
Now that we have the various objects and libraries that we need to make Selenium Webdriver actually test something. This means its time to actually write our first test. Instead of doing something substantial, lets just write our first test to make sure that we can navigate to a website and make sure we’re at the right place by asserting on the current URL.
In this case I’ve chosen to test Google’s search functionality, but lets just make sure we can actually hit the page anyway. Ive made a new Java class at /src/test/java.
MyFirstTest:
public class MyFirstTest {

    @Test
    public void testGoogle(){
        WebDriver driver = new FirefoxDriver();
        driver.get("https://www.google.com");
        assert(driver.getCurrentUrl().contains("https://www.google.com"));
        driver.quit();
    }
}
I had to use the contains function rather than equals since google adds a bunch of stuff to the URL when you navigate there. We know we are at the Google search page since we can see it within the Firefox browser window. Now we have a basic test that runs, but doesn’t do anything interesting other than what a browser already does. The best functional test suites follow important user flows; and, seeing as we are on google’s home page, we can model this test on the ‘searching’ user flow.
Making It Actually Do Something
Here’s a first pass at that test. I broke down the searching user flow into entering text for ‘foo’ and clicking the search button that pops up.
MyFirstTest:
public class MyFirstTest {

    @Test
    public void testGoogle() throws InterruptedException {
        WebDriver driver = new FirefoxDriver();
        driver.get("https://www.google.com");
        Thread.sleep(1000);
        driver.findElement(By.name("q")).sendKeys("foo");
        driver.findElement(By.name("btnG")).click();
        driver.quit();
    }
}
Take not of how much code is required to describe a pretty small action on the home page. 3 lines. Although this might seem like just a little bit of code, if we had a test with many steps, the length of the function would blow up and become totally unreadable.
Looking at this new code, its doing two distinct things. First of all, its explicitly waiting for a second for the page to render. Second, it is finding and interacting with elements that have been loaded onto the DOM.
If you try to run the test without the sleep, you’ll notice the test fails immediately because it can’t find the element. I was not able to get it to pass without a wait locally, but it is possible to happen ever now and then. However, if you look at the firefox window that popped up when the test failed, the test has definitely executed a google search, so what could be the problem?
Selenium is not smart and will try to grab an element right away, even before the page has fully rendered onto the DOM. This is typically where we would start using more intelligent waiting logic, but for right now lets just pause our application for a second using Thread.sleep() and clean up the portion that is interacting with the page.
Introducing Page Objects
At the same time our code has started getting full of magic strings and explicit waits, it has finally started to do something of consequence, so lets move some of the actions to a separate class to help clean up the test. This is called a page object, and it contains all of the logic that a page needs to know about itself such as values that are displayed and actions that a user might want to take against it as public functions.
Page:
public class Page {
    private WebDriver driver;

    Page(WebDriver driver){
        this.driver = driver;
    }

    public void search(String searchString){
        driver.findElement(By.name("q")).sendKeys(searchString);
        driver.findElement(By.name("btnG")).click();
    }

}
The main benefit of using page objects is that we can simplify our logic on our test itself and abstract out the details of the individual pages to separate classes rather than keeping the logic in the test itself. Furthermore it is conceptually easier to describe the actions as part of the page itself rather than writing it as part of the test.
Bringing Back Assertions With More Page Objects
Now that we have simplified our test a bit using a page object we can also add an assertion to make sure we are getting the page we would like to see. On the google search results page there is an element that has the number of results displayed, this value being present is a pretty good indicator that we have searched for something, since the first result of a query might change over time.
public class MyFirstTest {
    @Test
    public void testGoogle() throws InterruptedException {
        WebDriver driver = new FirefoxDriver();
        Page page = new Page(driver);
        driver.get("https://www.google.com");
        Thread.sleep(1000);
        page.search("foo");
        assert(driver.findElement(By.id("resultStats")).isDisplayed());
        driver.quit();
    }
}
But when we run this test, it fails, complaining that there is no such element. Now it seems the driver just isnt patient enough for the element to be loaded. Again. For right now, we’ll just add another wait to help make this test pass. Right now I am more concerned about the logic within the assertion since we have already established that putting driver finding elements in a test is an anti-pattern, so lets bring that out to a results page object. And while we’re at it, lets rename the Page object to HomePage, to make the difference between the two clear.
ResultsPage:
public class ResultsPage {
    private WebDriver driver;
    ResultsPage(WebDriver driver){
        this.driver = driver;
    }

    public WebElement getResultsElement(){
        return driver.findElement(By.id("resultStats"));
    }
}
MyFirstTest:
public class MyFirstTest {

    @Test
    public void testGoogle() throws InterruptedException {
        WebDriver driver = new FirefoxDriver();
        HomePage homePage = new HomePage(driver);
        ResultsPage resultsPage = new ResultsPage(driver);
        driver.get("https://www.google.com");
        Thread.sleep(1000);
        homePage.search("foo");
        Thread.sleep(1000);
        assert(resultsPage.getResultsElement().isDisplayed());
        driver.quit();
    }
}
Waiting For The Element To Finally Load
Now the duplicate waiting in our test is starting to become more annoying and our test itself is becoming more concerned about details of selenium. Let that sink in. Our test is now concerned with how we wait for elements as well as the test logic itself! (and we still have some setup, that I will move to a @Before method). While we could move this logic into the page objects individually, each page is not an ideal location for this logic either.
First off, lets clean up the test a bit more
MyFirstTest:
public class MyFirstTest {
    WebDriver driver;
    HomePage page;
    ResultsPage resultsPage;

    @Before
    public void before(){
        driver = new FirefoxDriver();
        page = new HomePage(driver);
        resultsPage = new ResultsPage(driver);
    }

    @Test
    public void testGoogle() throws InterruptedException {
        driver.get("https://www.google.com");
        Thread.sleep(1000);
        page.search("foo");
        Thread.sleep(1000);
        assert(resultsPage.getResultsElement().isDisplayed());
    }

    @After
    public void after(){
        driver.quit();
    }
}
While we want to deal with that annoying wait within the page objects, we most likely want both the home page and results page to use a similar approach to intelligently waiting, we might want to extract that logic into a new class that they can both access. Because this new page object has behavior that we expect all pages to use, we will call this new superclass the BasePage.
BasePage:
public class BasePage {
    private WebDriver driver;

    BasePage(){}

    BasePage(WebDriver driver){
        this.driver = driver;
    }

    public WebElement waitFindElement(By locator){
        WebDriverWait wait = new WebDriverWait(driver, 20);
        wait.until(ExpectedConditions.elementToBeClickable(locator));
        return driver.findElement(locator);
    }
}
HomePage:
public class HomePage extends BasePage{

    HomePage(WebDriver driver){
        super(driver);
    }

    public void search(String searchString){
        waitFindElement(By.name("q")).sendKeys(searchString);
        waitFindElement(By.name("btnG")).click();
    }

}
We’ve included some advanced waiting behavior logic in the BasePage method waitFindElement(). This implementation serves the current task well enough for our use case. Tailoring specific waits is basically a QA science, and this is a solid, simple, and intelligent wait. Depending on the specific nature of a website, this method might have to be tailored for specific cases. At last we can remove those Thread.sleep() calls (and handling the exception thrown by them).
We’ve finally gotten our test down to just the logic that describes our test, and abstracted away most of the implementation details.
But What About When We Need Multiple Test Files
Now imagine we have to test a separate area of functionality for Google, and add an additional test for google, though since this is just an exercise, we are just going to redo the exact same test in another file. But this new test has a significant amount of duplication with first test outside of the test logic itself. Additionally, if I want to change the pages on my site that are tested, or which browser to use, ill need to change it in multiple places. Not good.
MySecondTest:
public class MySecondTest {
    WebDriver driver;
    HomePage homePage;
    ResultsPage resultsPage;


    @Before
    public void before(){
        driver = new FirefoxDriver();
        homePage = new HomePage(driver);
        resultsPage = new ResultsPage(driver);
    }

    @Test
    public void testGoogle() throws InterruptedException {
        driver.get("https://www.google.com");
        homePage.search("foo");
        assert(resultsPage.getResultsElement().isDisplayed());
    }

    @After
    public void after(){
        driver.quit();
    }
}
Similarly to how we handled the problems of duplication of page logic using page objects and a base page we can move the test setup logic to a base class which all of the other ones inherit from. This means that we can easily change the drivers used for our tests, or dynamically change the driver if we want to use different ones based on environment variables.
public class TestBase {
    public WebDriver driver;
    public HomePage homePage;
    public ResultsPage resultsPage;

    @Before
    public void before(){
        driver = new FirefoxDriver();
        homePage = new HomePage(driver);
        resultsPage = new ResultsPage(driver);
    }

    @After
    public void after(){
        driver.quit();
    }
}
In Closing
I hope this was an informative walkthrough that can help just about anyone on a team, be they dev, QA or even BA, get a functional test suite prepared in short order. Just remember that not every project needs a functional testing suite, and even when it does, best practice says to keep the number of tests to a minimum. The benefits of a refined functional testing suite is twofold: to reduce execution time, and improve reliability. Selenium is not the most reliable way of executing tests and weird things can happen while running tests. The test pyramid tells us that we should push tests down to lower levels, generally unit and integration tests, to improve the feedback cycle on code changes. Nonetheless, it seems that end to end testing using a browser has a place in the modern test ecosystem, even if it is just at a very high level.
Also if you have any thoughts, advice, or follow-up on this article please reach out to me at my email address mrichins@thoughtworks.com

Mason Richins
QA @ Thoughtworks